monday craft hack
/In my last post, I explained how my latest road find was going to help transform our guest room. But if you notice, that room is lacking in accessories....with the grand exception of my bug prints. I don't know what it is about those bugs. I just love 'em!
I still have a lot of things from other dwellings (I've moved a lot in the past 6 years) that I haven't found a space for, and when we were moving the old bed out and the new bed into the guest room, I uncovered these babies:
Ikea faithfuls may recognize them as this guy:
This is the original pine version of the Malma. I'm not sure if they're still sold in just plain pine anymore. But they sure made for a great and inexpensive little craft project.
There are all kinds of clever hacks for this little mirror. This one may be my favorite (even though it's in another language, it's still easy to follow):
Clever, right?!
I tried sanding mine down and then uncovered a layer of lime green, recalling to mind just how long I've had them: they were once green in my bedroom at college, and then I painted them orange sometime after that. And sometime between then and now, they got packed up and forgotten.
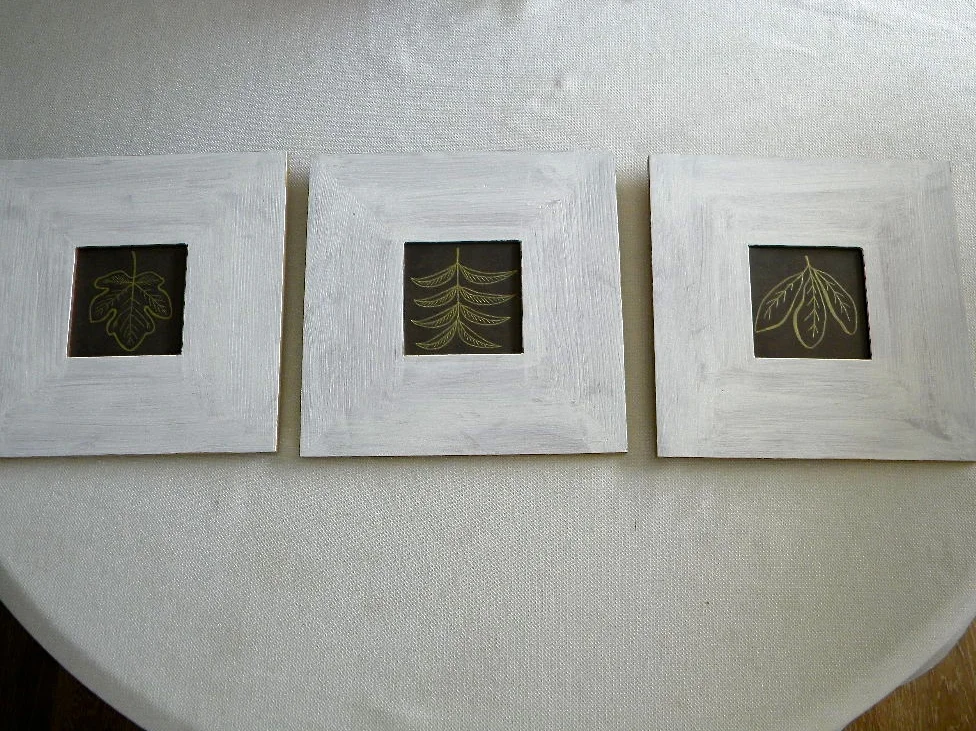
So I decided to resurrect them for the guest room. But I didn't want to use them as mirrors. I want them to display artwork. Tiny little artworks. And since I've been really been having a hard time lately with the loss of all my oil paints and watercolors (I donated them shortly after having my daughter, assuming I'd never use them again), I thought I'd dig up what I could and create a little something for these 4x4 mirrors-turned-frames.
I knew I wanted three things: dark, light, and vintage/botanical-ish.
Well. Here's how they turned out.
Disclaimer: I really don't claim to be any photographer. I apologize for the poor quality. I do what I can!
And here's what I did:
1. Painted the frames white with just one coat. I planned on doing two, but I liked how it looked after just one.
2. The edges where already gold, but I hit them up again just to give them a freshness. I did the same to the inside edges around the mirror.
3. Found some old charcoal colored craft paper and cut it down to 4x4 pieces.
4. Decided to do 3 different kinds of leaves: fig, pecan, and live oak. Googled images, sketched them out with pencil.
5. Went over the sketches with a $1 gold marker I found in the Target dollar section.
6. Popped those babies in and secured them with some double-sided tape.
DUNZO.
My husband has been working a lot lately. And therefore I've been watching a lot of Parks and Rec. Hats off to Tom Haverford for giving mankind the word "Dunzo."
Super easy. I could have done it in a couple hours if I had worked on it in one sitting.
Here's a shot of the 'tails (thanks again to Tom for that word):
Pretty good, right?
I can't wait to get them up on the wall!
Do you have any of these puppies laying around your house from an old Ikea trip? What have you done with them?
Until next time!


